In this blog post, we will discuss how to publish a Blazor Server Application to IIS. Here are we going to create a Blazor Server application using the default Blazor Server template in Visual Studio 2019 and we will publish the same in the IIS server. If you are completely new to Blazor application, I would highly recommend you to check the introductory post.
Blazor is a new framework provided by Microsoft to build interactive client-side web applications using C# programming language and Razor syntax on top of the .NET Core framework. The beauty of this framework is that the developer need not know any JavaScript and can leverage the existing .NET, .NET Core frameworks, and its associated NuGet packages to power the Blazor application. The developer can build a Blazor application that can run on the server or directly inside the client browsers.
Prerequisite
- Visual Studio 2019 Community Edition [Download Here]
- .NET Core 3.1 and above [Download Here]
1. Enable the Internet Information Service (IIS) feature
The first step is to have Internet Information Services (IIS Web Server) up and running so the application can be hosted in it. The step can be skipped if the IIS is already up and running else the following step needs to be performed.
1. Open Program and Features Dialog
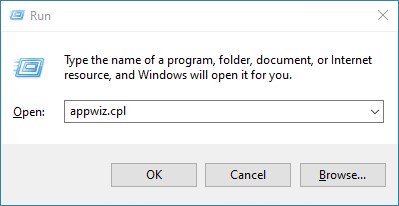
- Press Windows Key + R and type appwiz.cpl and press OK to open the dialog.
2. Select “Turn Windows feature on or off”

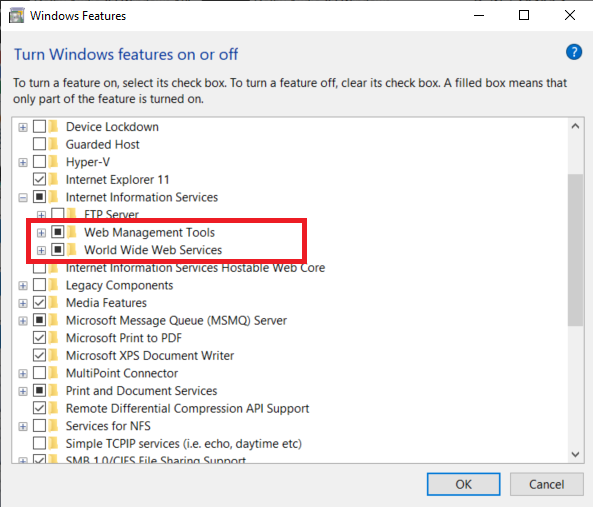
3. Select Internet Information Service and enable the following
- Web Management Tools
- World Wide Web Services
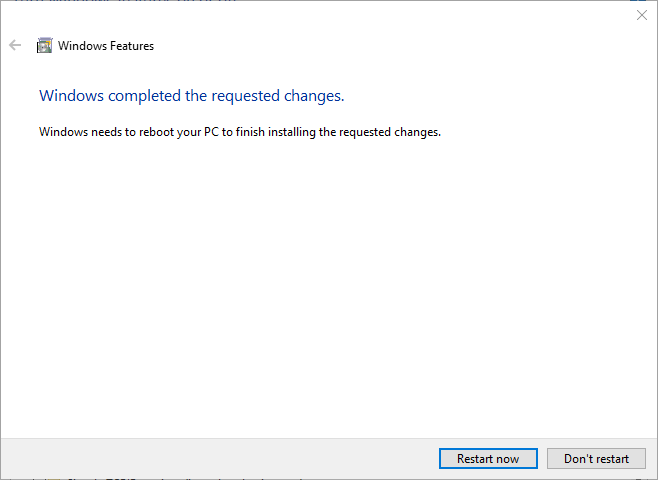
Enabling the feature might require to restart the machine, so restart the machine.
2. Install ASP.NET Core Runtime Hosting Bundle
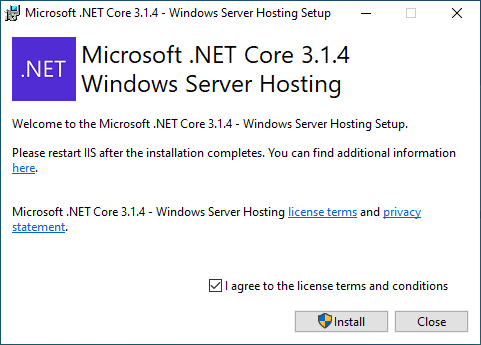
The second step is to install the ASP.NET Core Runtime Hosting Bundle. The Blazor Server is executed as an ASP.NET Core application on the server, so the runtime requirement is the same as an ASP.NET Core application.
The Runtime Hosting Bundle will install the IIS runtime support (ASP.NET Core Modules) so that we can host the Blazor Server application on the IIS. The installer can be found on the .NET Core download page here: and can be found under the “Run apps – Runtime” section of the page as shown in the snapshot.
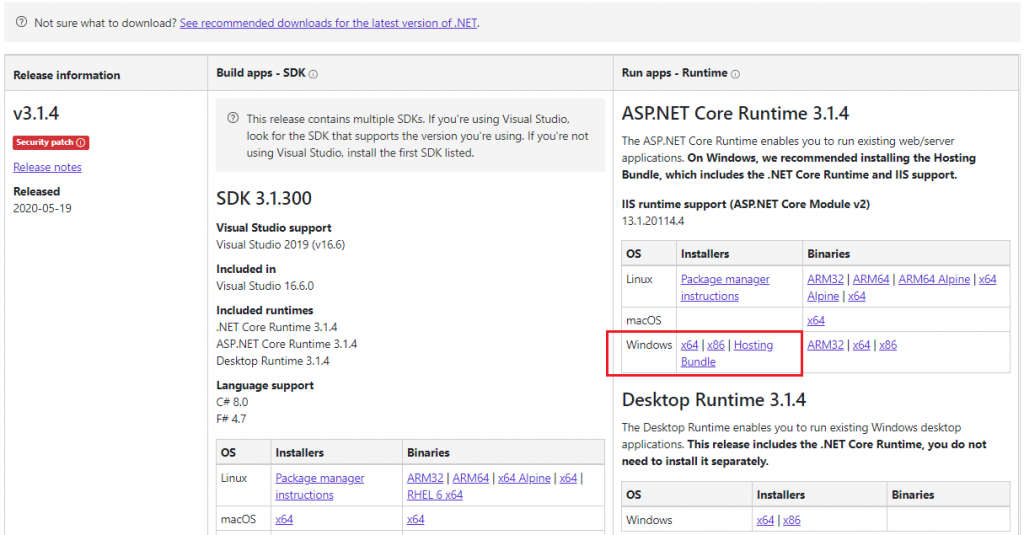
Download and install the package. Completing this step will make the IIS ready to host the Blazor Server application.
3. Create a Blazor Server Application
The next step is to create a Blazor Server application, if you have an existing application then you can skip this step entirely. The application is created using the default Blazor Server project template and no code changes have been made to the application. The short video shows how to create a Blazor Server application in Visual Studio 2019.
4. Publish the Application using the “Folder or File share” profile.
Now we have the application ready, so we will publish it. Steps to publish the application to a local folder:
- Right-click on the project name and select Publish.
- Select Folder from “Pick a publish target” and click on “Create Profile“
- Click Publish
- Make a note of the published location from the Output Window
The entire step is shown in the GIF below.
5. Host the application in IIS
At this point we have our published artifacts ready, the next step is to host these artifacts in IIS.
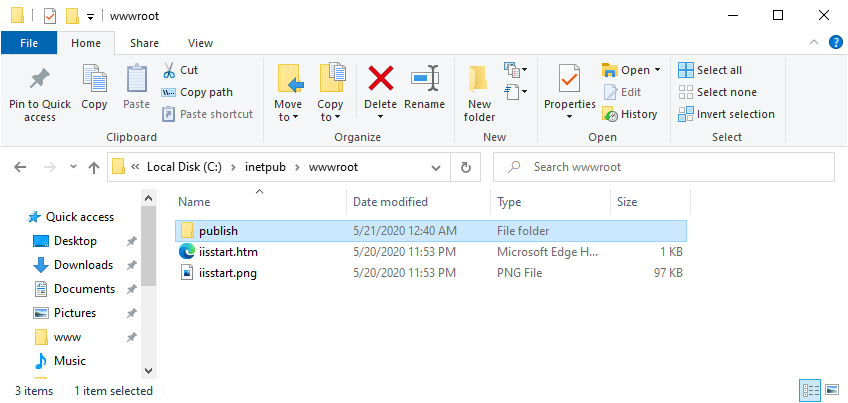
1. Copy the published folder to webroot folder C:\inetpub\wwwroot\
2. Open IIS Manager
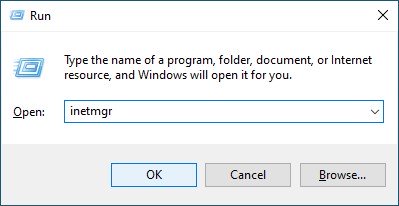
Press Windows + R, and type inetmgr and press OK.
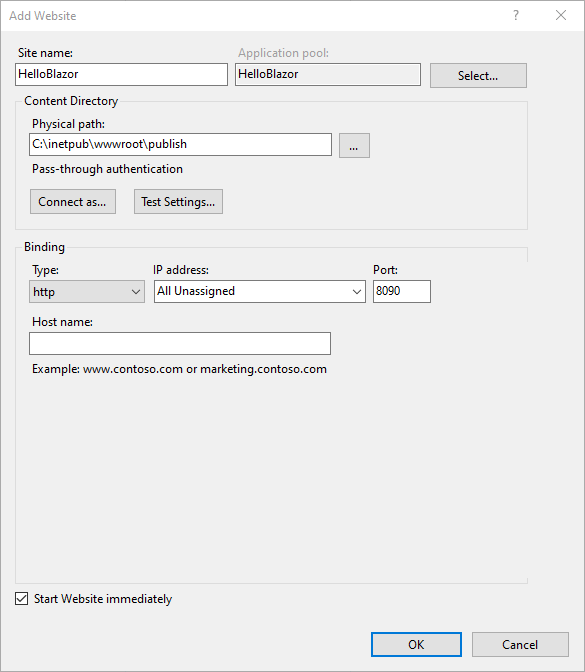
3. Add Website
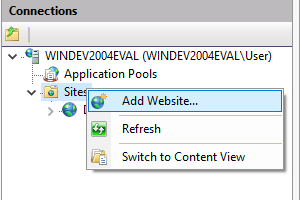
Right click on Sites and select Add Website
Provide the following details in Add Website dialog
- Site name: HelloBlazor [put your own name]
- Physical path: C:\inetpub\wwwroot\publish\
- Port: 8090 [put your own name]
- Click OK
6. Browse the application
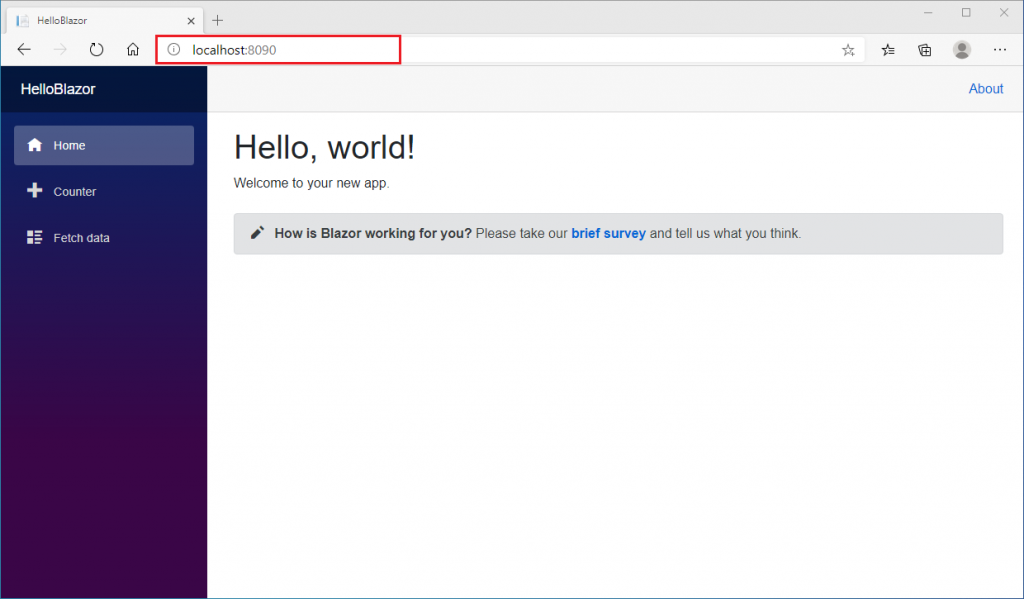
Open the browser and put the URL: localhost:8090 (your given port number)
This concludes the post, I hope you find the post on how to publish a Blazor Server Application to IIS helpful. Thanks for visiting, Cheers!!!.
[Further Readings: Top 7 Visual Studio 2019 extensions for Web Projects | The difference in Blazor Server and WebAssembly Application | Exploring Blazor WebAssembly App Project Structure | Top 10 Productivity Tips and Tricks in Visual Studio 2019 | CRUD Operations in WPF using EntityFrameworkCore and SQLite | How to implement Dependency Injection in WPF | How to use External Tool in Visual Studio 2019 | Top Features of Visual Studio 2019 Community Edition | Basic CRUD operations in Blazor using SQLite as the database | How to consume REST API in Blazor Application | Blazor Lifecycle Methods | A Simple way to Call Javascript in Blazor Application ]