Visual Studio 2019 is one of the best developer-friendly Integrated Development Environment (IDE) developed and maintained by Microsoft. Visual Studio can be used to develop a plethora of different applications such as Console Applications, Windows applications, Web applications, Next-generation Internet of Things, Machine Learning applications, and many more.
Visual Studio 2019 Editions
The current version at the time of writing in Visual Studio 2019 and is available in three editions
- Community Edition: It is a free version and can be downloaded and used by any individual without worrying about licensing issues.
- Professional Edition: It is a commercial version and is used by an individual or small organization having less than 250 installations or having an annual revenue of 1 Million Dollars or less.
- Enterprise Edition: It is also a commercial version and is used by large organizations, the enterprise version contains additional features like IntelliTrace, .NET Memory Dump Analyzer, Snapshot Debugger, Live Unit Testing, Code Coverage, Xamarin Inspector and Profiler compared to its peer versions.
Click the link to download Visual Studio 2019 here
How to change the Pre-Installed Visual Studio 2019 theme
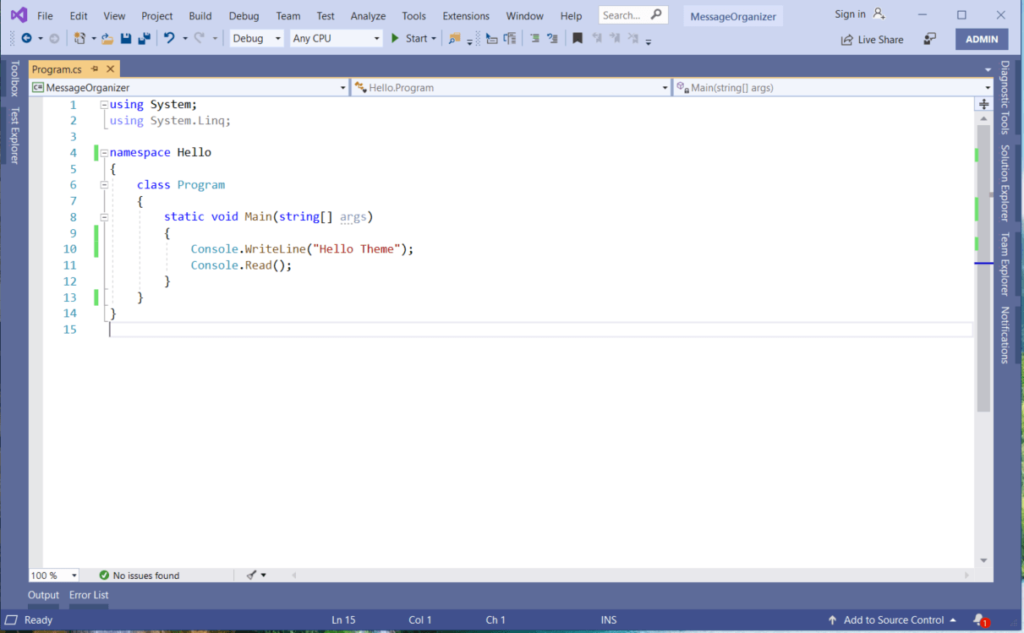
Visual Studio 2019 comes with 4 pre-installed themes they are: Blue, Light, Dark, and Blue with Extra Contrast. In order to change the theme the user needs to open Visual Studio Options Dialog, this can be done in the following two ways given below, and from the Dialog, the user can select the Color Theme of his choice.
- Press Control + Q and type “Themes” in the text box and select “Change environment color themes” from the given option. This will open the Options Dialog.
2. Open the Tools menu and select Options, this will open the Options Dialog, then select Environment node in it, and select “Color Theme” of your choice and click Ok.
Snapshot of pre-built themes
1. Blue Theme
2. Light Color
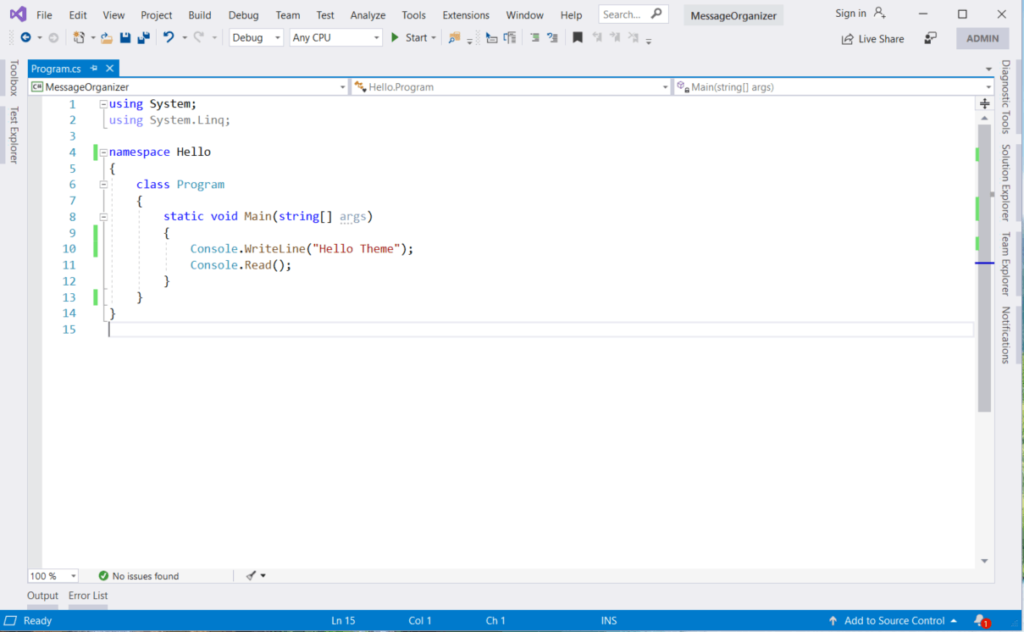
3. Dark Color
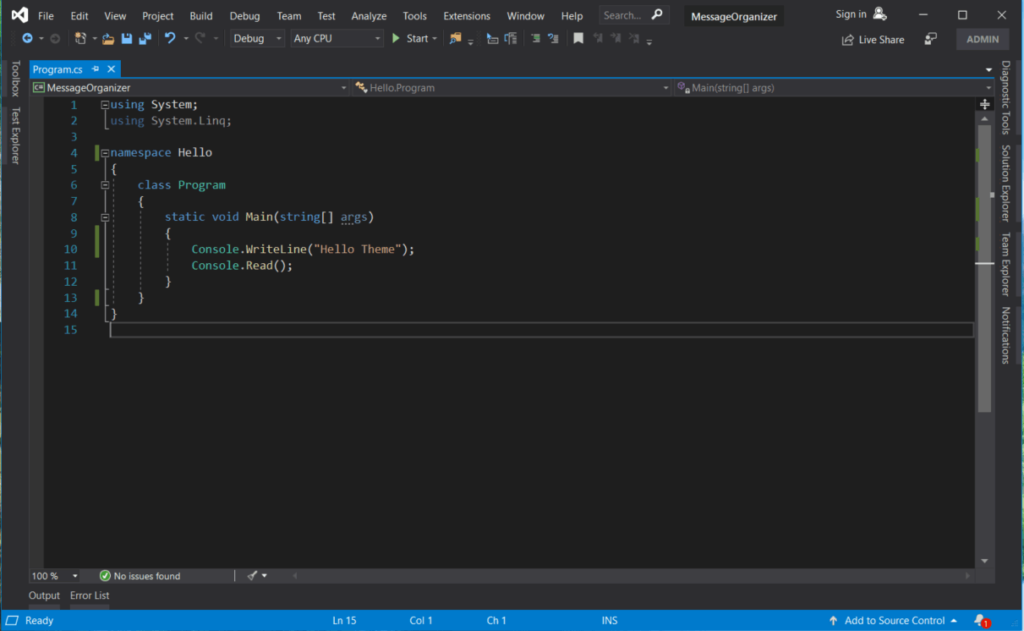
4. Blue Extra Contrast
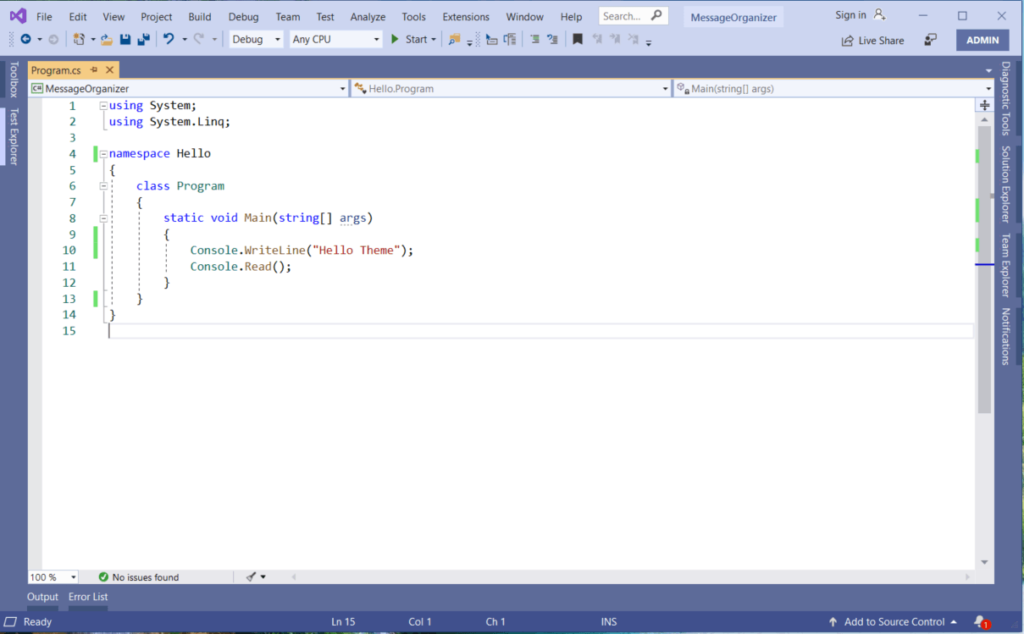
Video Tutorial – Change and Import Themes
Installing External Themes from Visual Studio Marketplace
Apart from the pre-installed them, if you want to install an external theme, you can install it directly from Visual Studio using the Visual Studio Marketplace following the simple steps below
Step-1: Select Extensions Menu and Manage Extensions

This will open an “Manage Extensions Dialog“
Step-2: Select Visual Studio Marketplace under Online Node
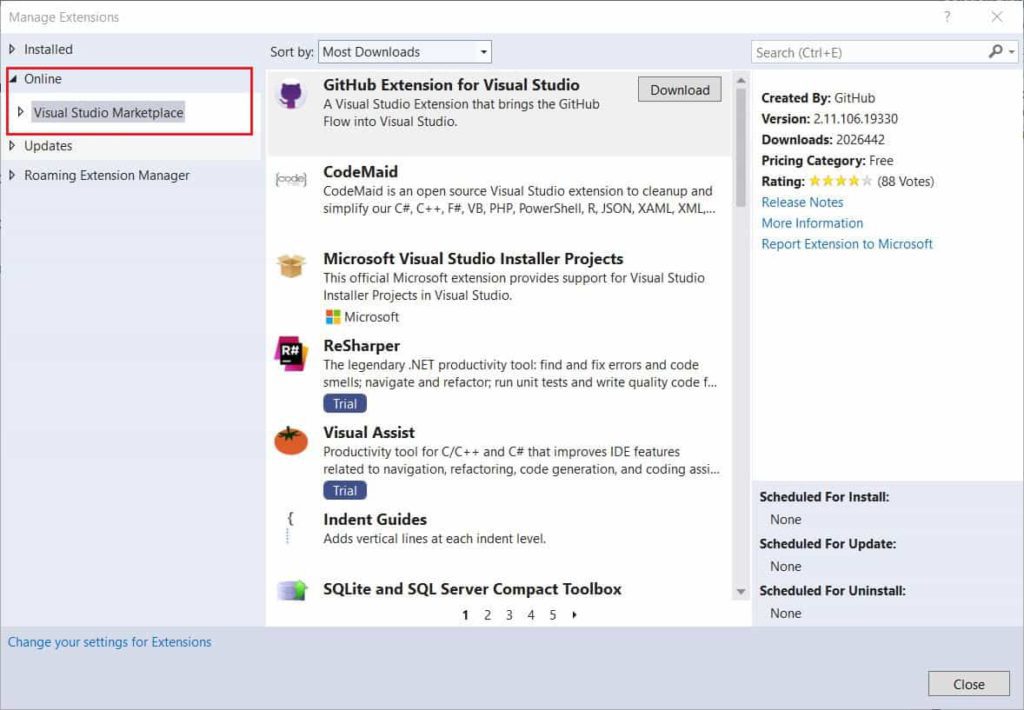
Step-3: Search for Themes and select the theme you want.
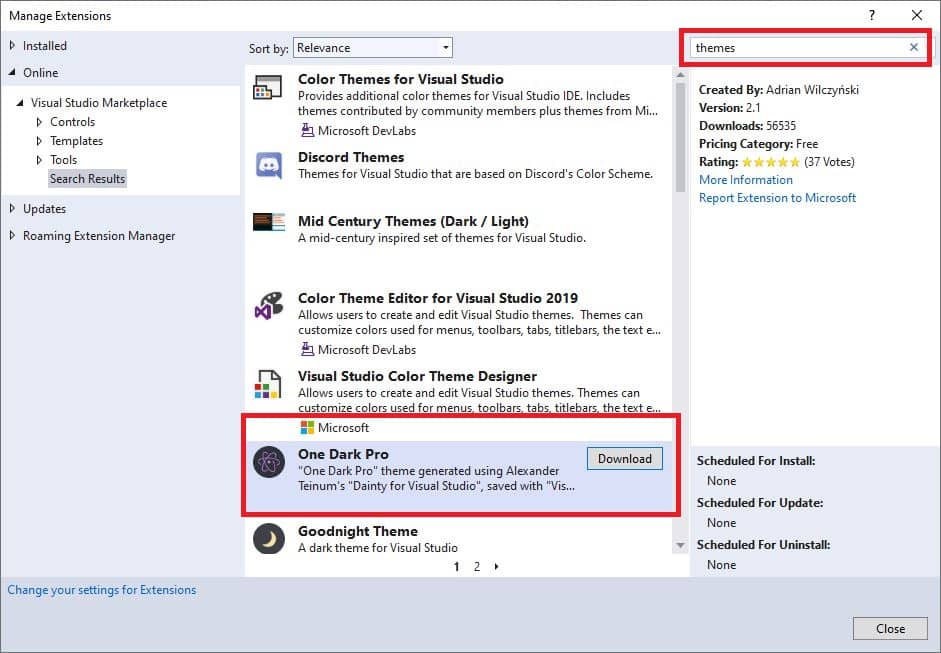
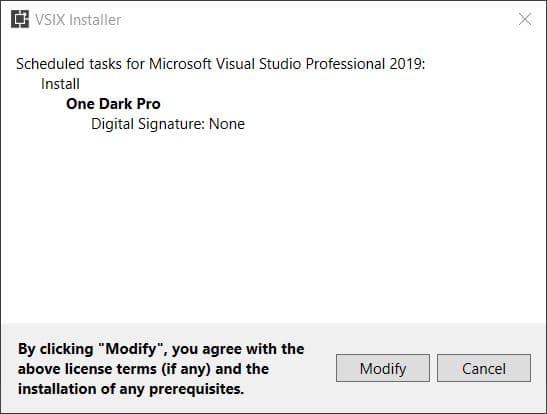
Select the theme (I have selected One Dark Pro theme) you want and then click on the download button. After you download the theme, Visual Studio will schedule the installation on restart. Just restart Visual Studio, this will open the VSIX installer dialog click on the “Modify” button to install the theme.
Step-4: Select the installed theme and apply
After successful installation, the theme will be available in the “Color Theme” options, select the installed one and click OK to apply changes.
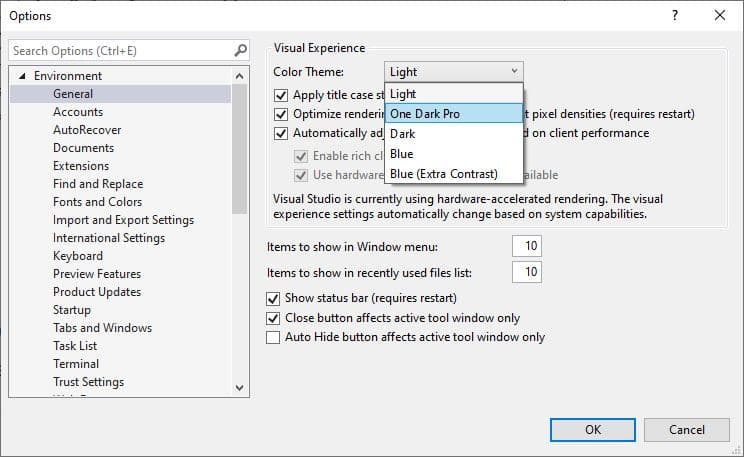
Step-5: Applied Theme Visual Changes
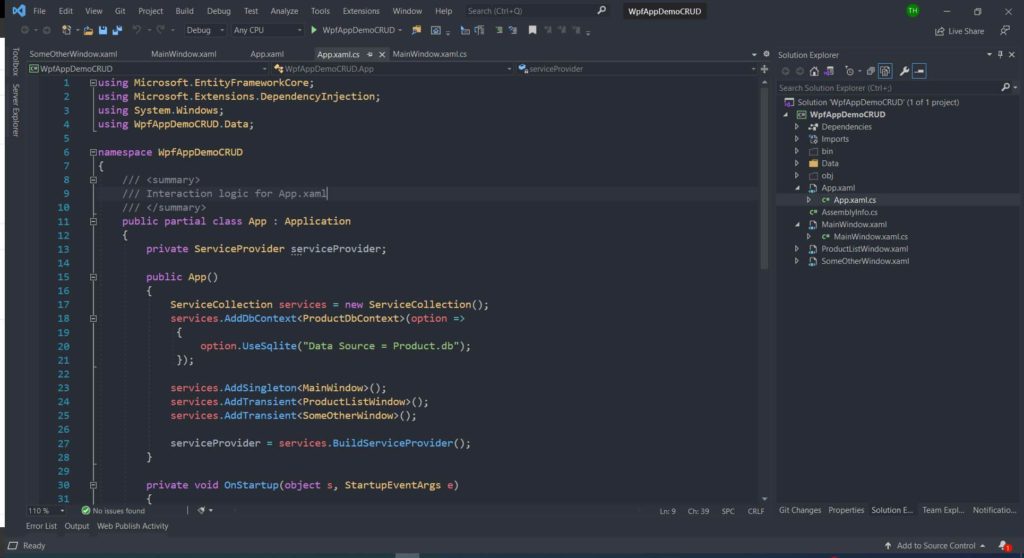
Curious user can create a new theme or modify existing Visual Themes using “Color Theme Editor” provided by Microsoft DevLabs [download here] or can download “Color Themes” Microsoft DevLabs [download here]
Visit Studio Styles to check 4000+ Color Themes for Visual Studio
I hope you find the post on how to change the Visual Studio 2019 Theme helpful. Thanks for visiting. Cheers!!!
[Further Readings: How to create an ASP NET Core MVC Web Application using dotnet-cli | How to create an ASP.NET Core Web Application using dotnet-cli | How to create a dotnet core NUnit Test Project using dotnet-cli | How to create a dotnet core xUnit Test Project using dotnet-cli | How to create a dotnet core MSTest Project using dotnet-cli | How to create dotnet core WinForms Application using dotnet-cli | How to create a dotnet core WPF application using dotnet-cli | How to create a dotnet core console app using dotnet-cli | Top 7 Web Frameworks to Learn and Focus on in 2021 | Singleton Design Pattern in C# | Introduction to Design Patterns ]
